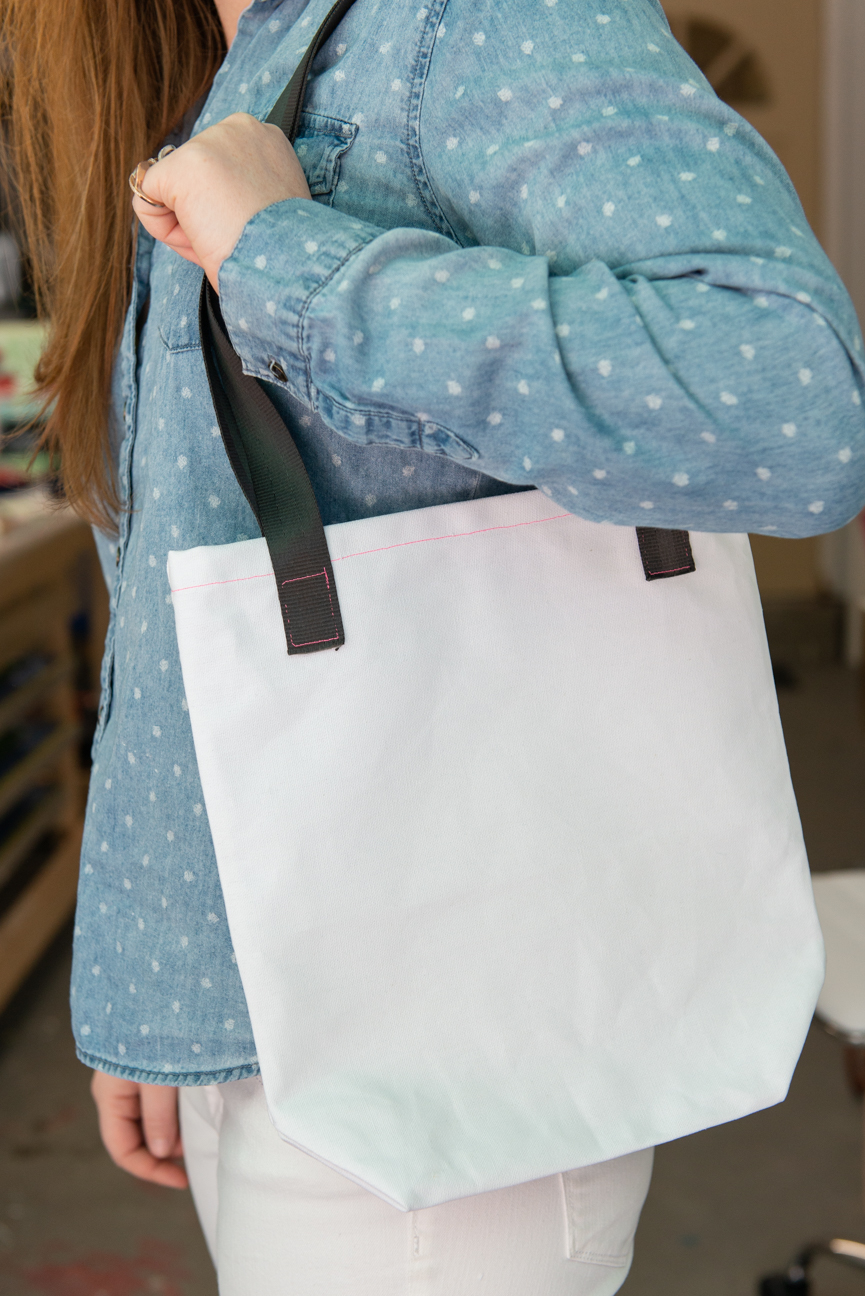
DIY Farmers' Market Tote with Moss & Marsh
Today we’d like to welcome Candace Brodmann to the Paprika Southern blog! Candace is sharing a two-part Farmers’ Market Tote DIY. In this installment, she’s teaching you a simple technique for making your own tote bag. You can make your tote whatever size you wish. This part of the DIY does require the use of a sewing machine, but if that’s not your jam, no worries, part two of the DIY can be done with a store-bought tote bag (bonus, part two is also kid-friendly!)
Hello lovelies! I’m Candace Brodmann, owner of Moss & Marsh. Part of the reason I started M&M is because I adore making functional things from scratch as well as crafting gifts for people. So, I was super excited when Paprika Southern and I started working on this fun DIY project for you all to enjoy…because who doesn’t love having the perfect bag to stroll through a farmer’s market on a sunny Saturday morning? I’ve always liked whipping up easy projects on the sewing machine and today I’m going to share a quick tote bag tutorial with you.
DIY Farmers’ Market Tote
Tutorial by Candace Brodmann / Photographed by Siobhan Egan
Materials
½ yard of canvas or heavyweight fabric
2 yards webbing or twill (anything that will work as a strap)
thread
scissors
pins
iron
sewing machine
Step One
Decide how big you want your bag. You can measure an existing bag for reference. This bag will be 12”W x 13”L perfect for picking up a few things at the farmer’s market.
Step Two
Take your fabric and fold it in half – where the fold is on the short side. Measure 19” from fold and cut, then measure 13” from side to side and cut. If you’re making a different size bag, simply add 6” to the length for the hem & bottom gusset and 1” to the width for seam allowance.
Step Three
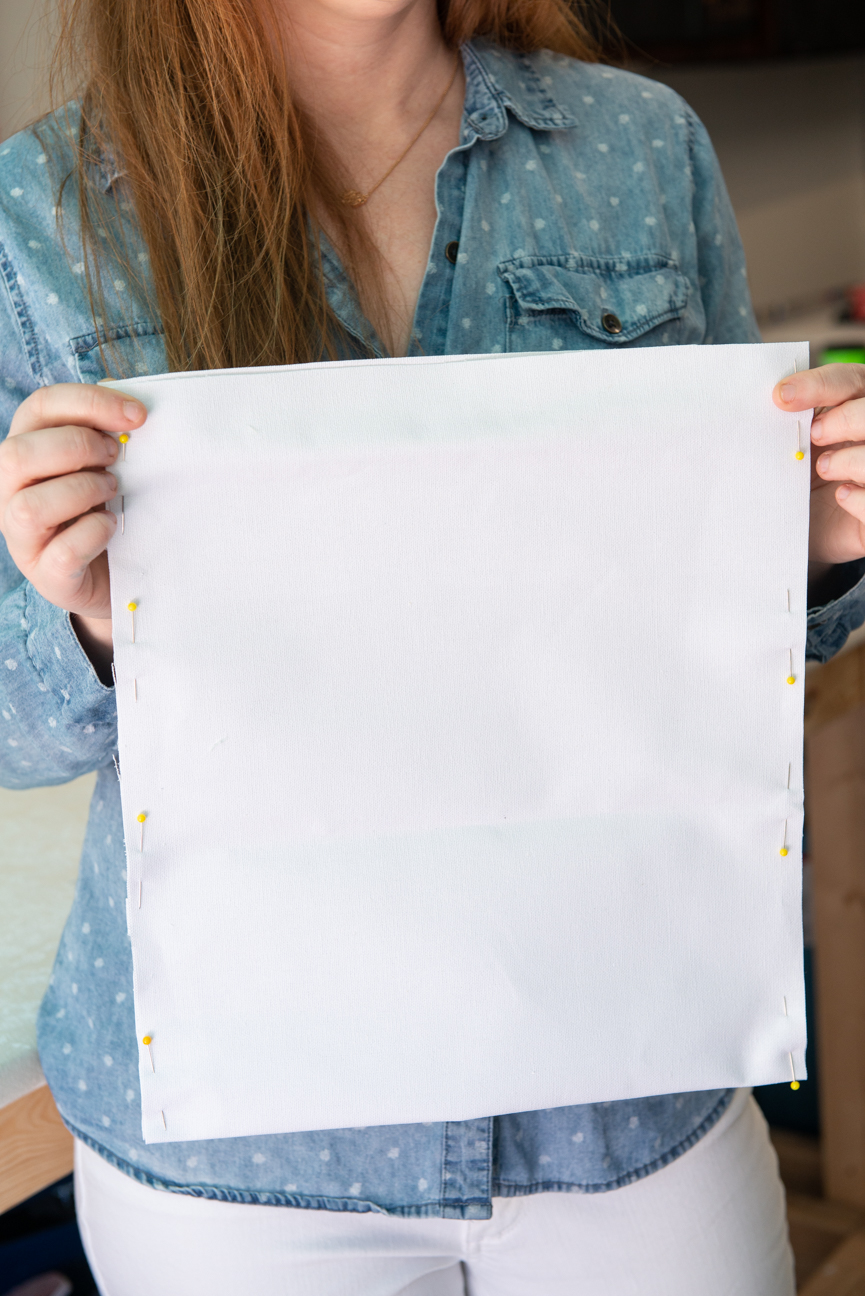
Now, this is the trickiest part of the whole bag. Once you get through this you’re golden. Take the fold and push it inwards 2”. It should make a “W” from the side. Push it flat with your hand and carefully pin in place making sure the inward fold is even on each side. Pin all the way down both sides.
Step Four
Sew it! Sew down each side of the bag making sure to back stitch/lock stich at the “W” end a few times to reinforce the stitch for durability the bottom of the bag.
Step Five
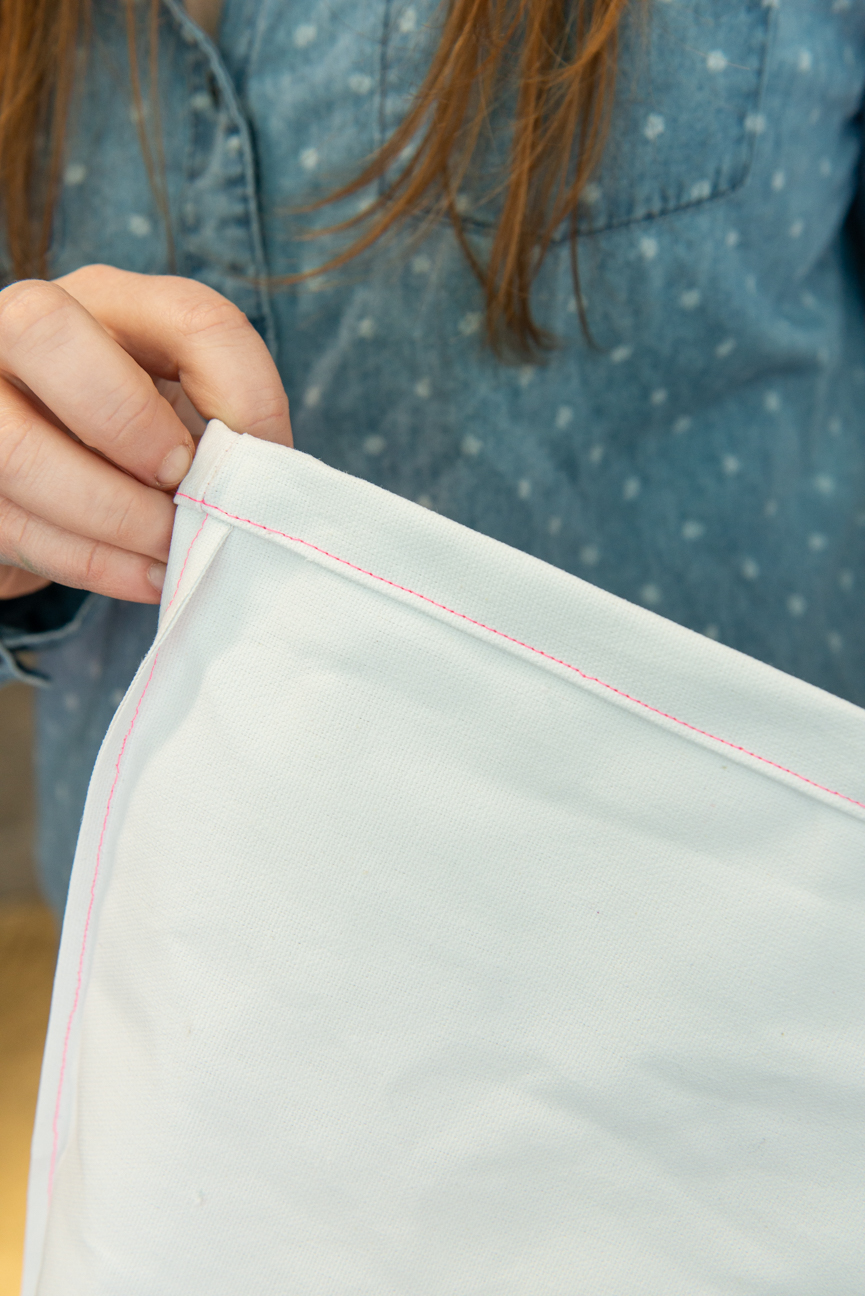
Grab your iron, it’s time to create a folded hem. Take the opening of the bag and fold the edge down .5” and press – make sure you’re folding towards the side you just sewed. Repeat to create a double folded hem. Pin to hold in place and sew along folded edge. Flip right-side out.
Step Six
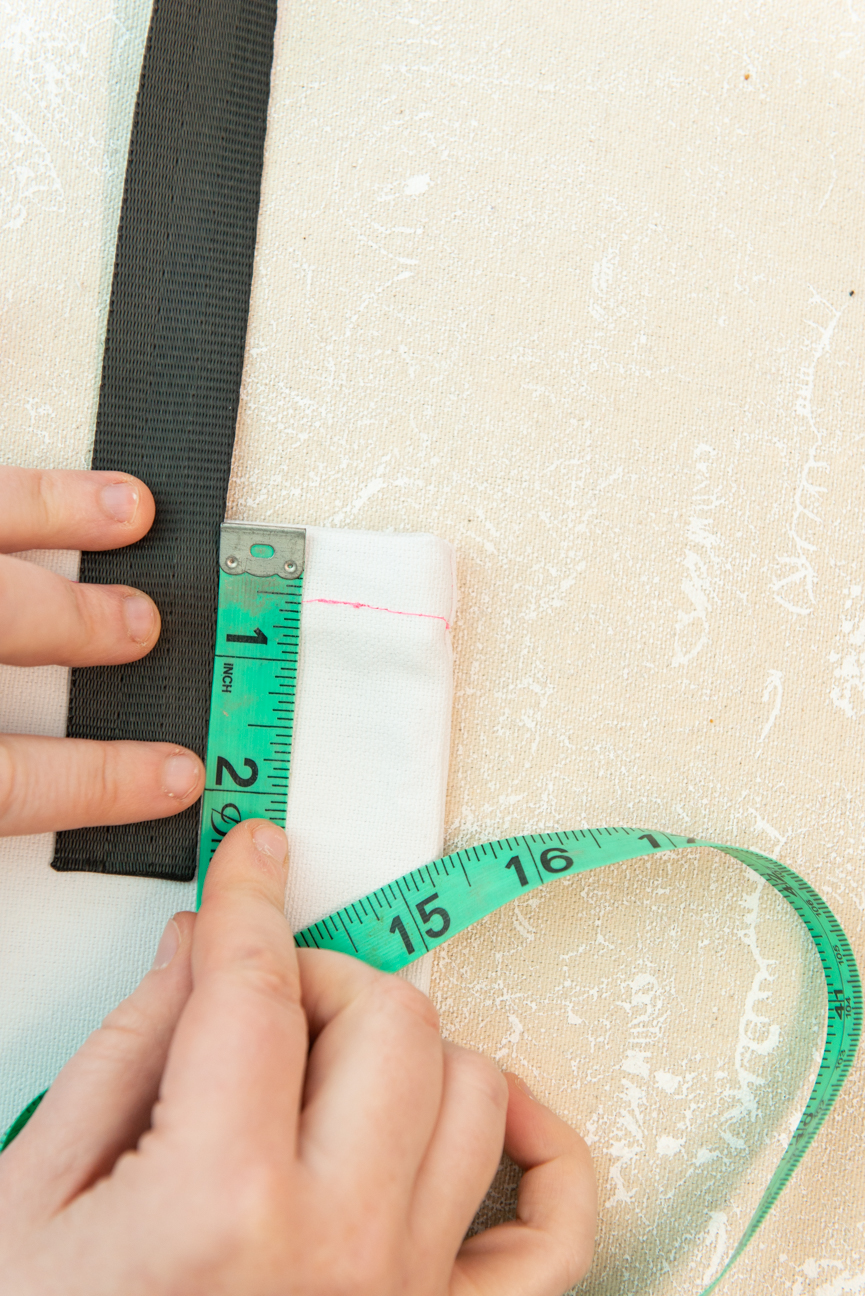
Time for straps! I love buying pre-made straps to make life easier and sometimes you can find a cool decorative option. I’m using a nylon webbing for these straps, cut to 30” each. This is a little longer than the norm, but I like my straps longer so I can fit all the veggies and long baguettes easily under my arm. If you get nylon or polyester webbing, to prevent the ends from fraying you can melt the cut ends with a lighter.
Step Seven
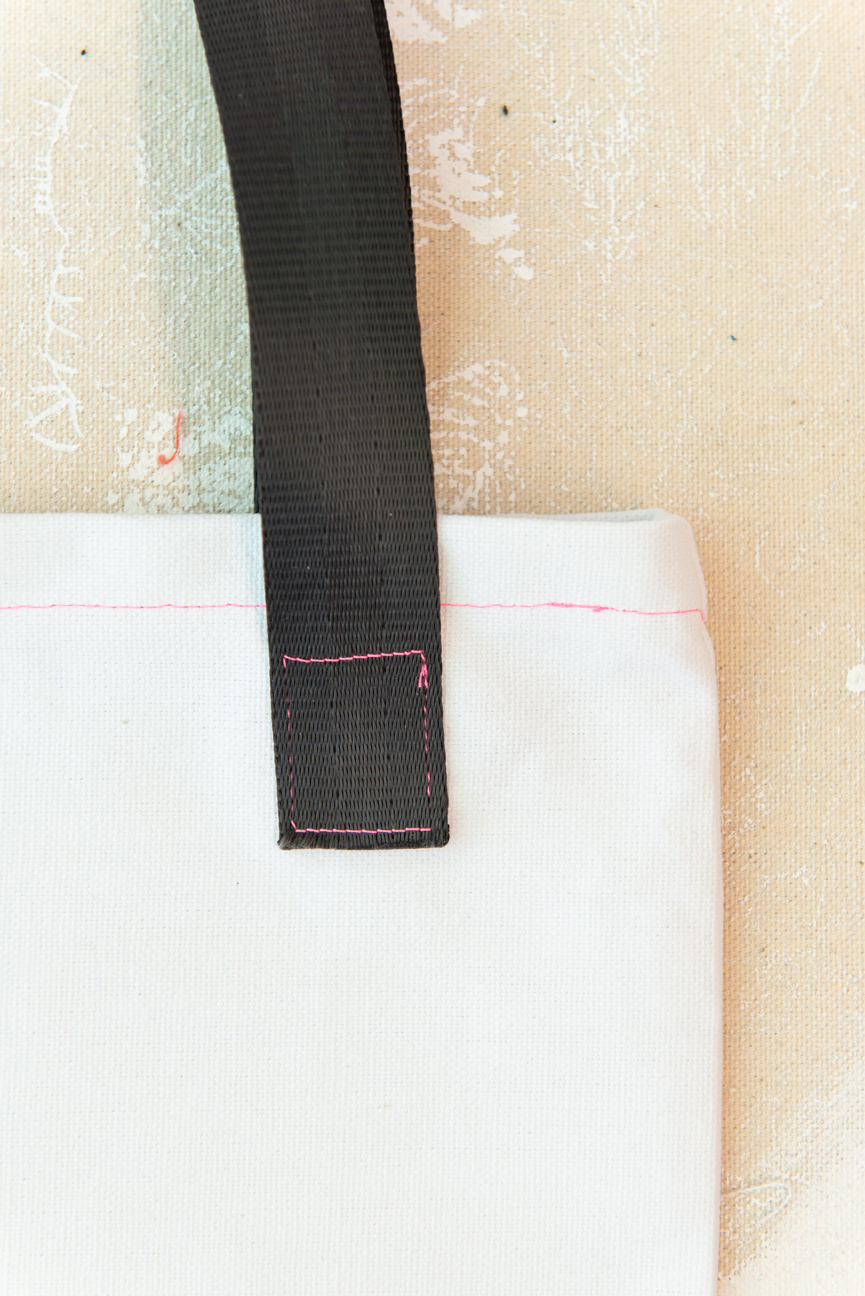
Carefully sew a square at the strap end to secure it in place. Repeat four times.
Step Eight
Press any wrinkles out. You’re done! Time to go shopping
Click here for Part Two of the DIY, where Candace shares how to screen print a monstera leaf onto the bag using craft store materials. No screens or exposure units needed!


