DIY Screen Printed Tote with Moss & Marsh
Welcome to Part 2 of our DIY Farmers’ Market Tote with Moss & Marsh! For Part 1 of this DIY, which includes instructions for sewing your own tote bag, click here.
Candace here again for part 2 of our DIY project! One of the things that has fueled the Moss & Marsh brand is screen printing. Designing repeat patterns is my favorite and having the ability to create completely original fabrics is so satisfying and something that sets our products apart. Today I’m thrilled to show you a simple way for you to do at-home screen-printing. All of the products below can be found at Michaels or your favorite craft store. To celebrate our newest print, Monstera, we’re giving you a free leaf pattern download to use for this project!
DIY Screen Printed Tote
Tutorial by Candace Brodmann / Photographed by Siobhan Egan / Special Appearance by the Brodmann Family Pup, Copper
Materials
Tote bag (purchase or sew your own) or item to print on – sky’s the limit here!
Sheer fabric – must be a tight weave. Panty hose will work too!
Embroidery hoop – we’re using a 12”
Mod Podge
Screen printing ink
Small squeegee or silicone spatula
Paint brushes (tiny one and medium size)
Printed out or drawn design (download a monstera leaf template here!)
Sharpie
Hairdryer
Iron
Instructions
Step One
Stretch your fabric in the embroidery hoop. Make sure it is taut and not flexible inside the hoop – you want it to be like a drum top, but don’t bang on it ;)
Step Two
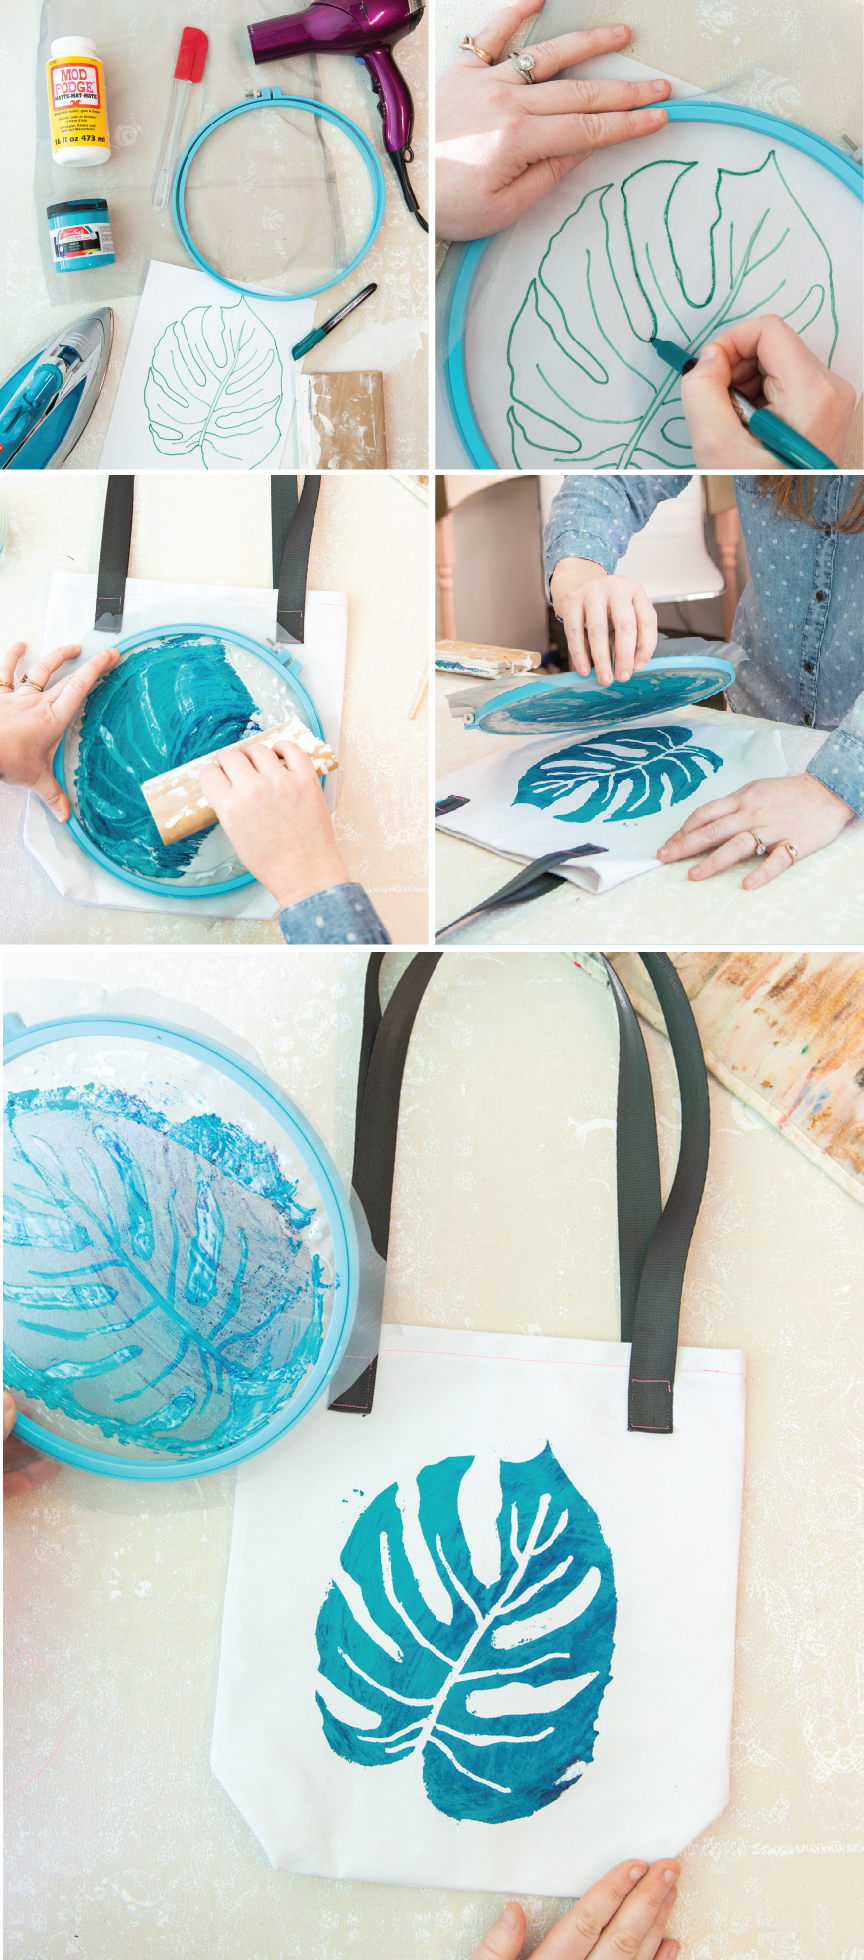
Lay the hoop, fabric side down, over your selected motif. Make sure there is at least .5” margin from the hoop edge to your design. Trace the design on to the fabric with your sharpie.
Step Three
Using a brush, block out the negative space with Mod Podge. Make sure to cover anywhere you do not want your ink to come through, like around the hoop edge. Flip the hoop over and wipe off any mod podge that has pooled on the back. Hold your hoop up to the light to check for any areas that still need blocking.
Step Four
Grab your hand hairdryer and dry the glue. It dries fast!
Step Five
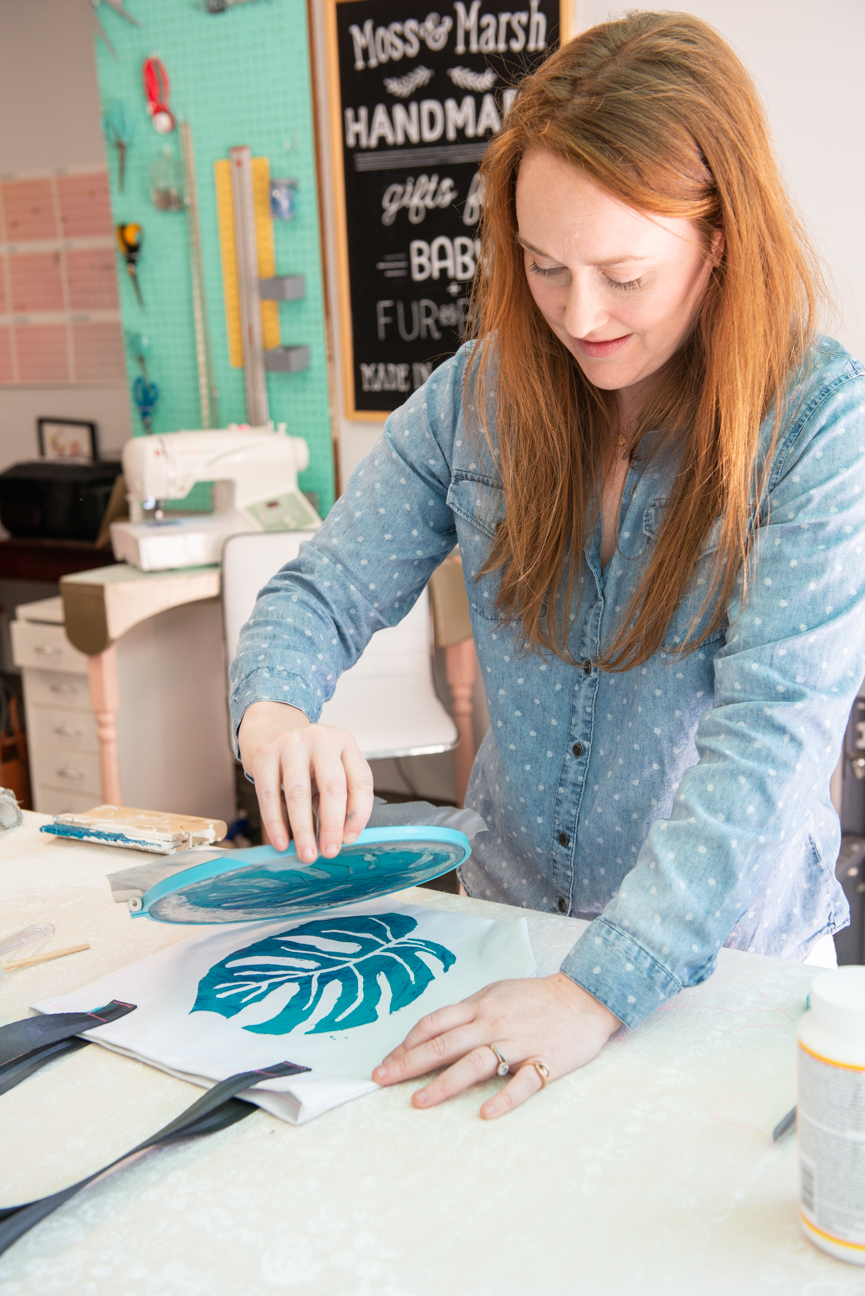
The moment you’ve been waiting for…printing time! Lay your hoop, fabric side down, onto your tote bag. Scoop some ink (we mixed our own color) in a line along the edge of your design. Making sure to hold your hoop down so it doesn’t shift, take your squeegee (or spatula) and pull the ink across the design. Pull the ink back and forth about four times or until you have covered the area well.
Step Six
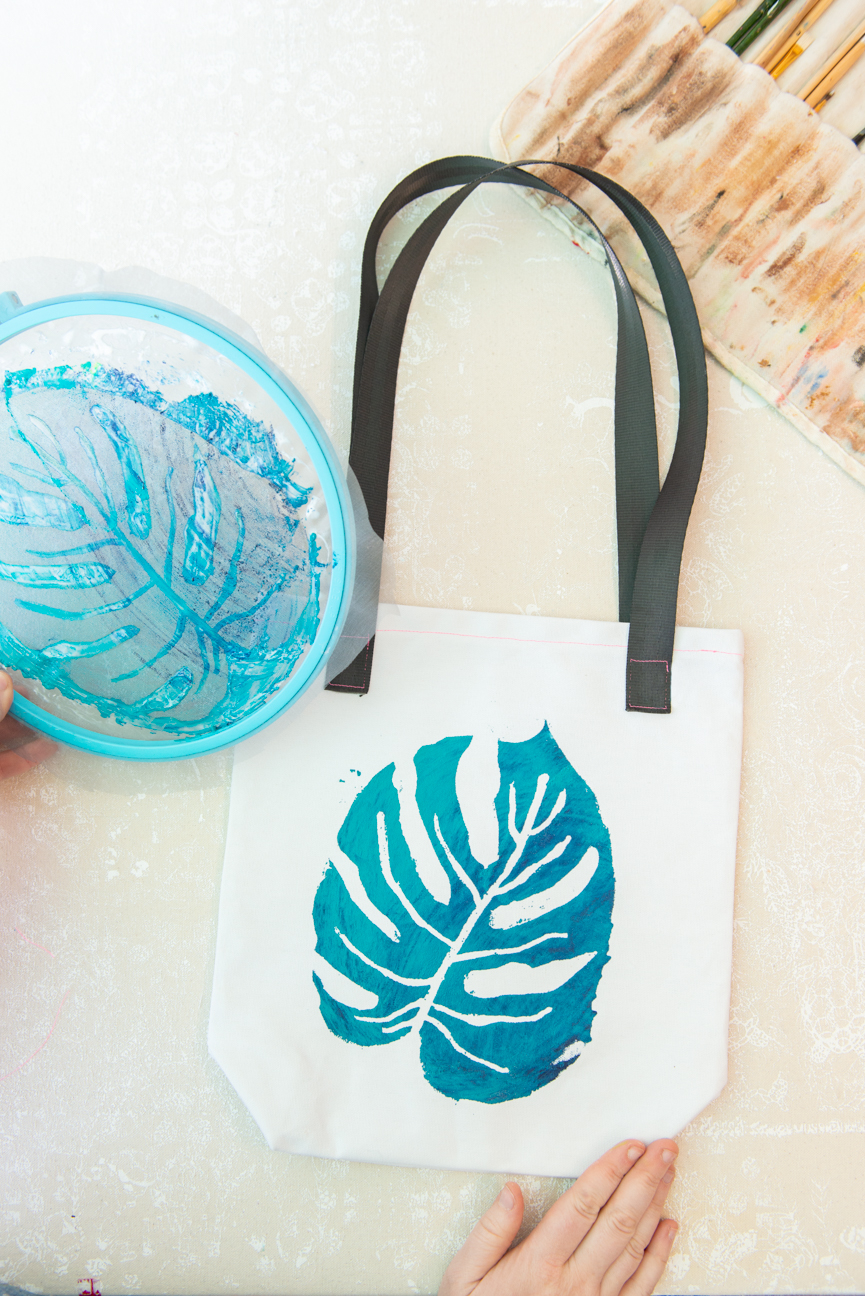
Now, it’s time for my favorite part…the lift! Lift your hoop off slowly and look at your awesome work! Let dry or use hairdryer.
Step Seven
You’re almost done! To ensure the ink doesn’t wash out you need to heat set it. Turn your iron to high heat (mine is on the linen/cotton setting), make sure the heat plate is clean, and that the steam is turned off. Slowly move the iron over your dried ink for about 1 minute.
Step Eight
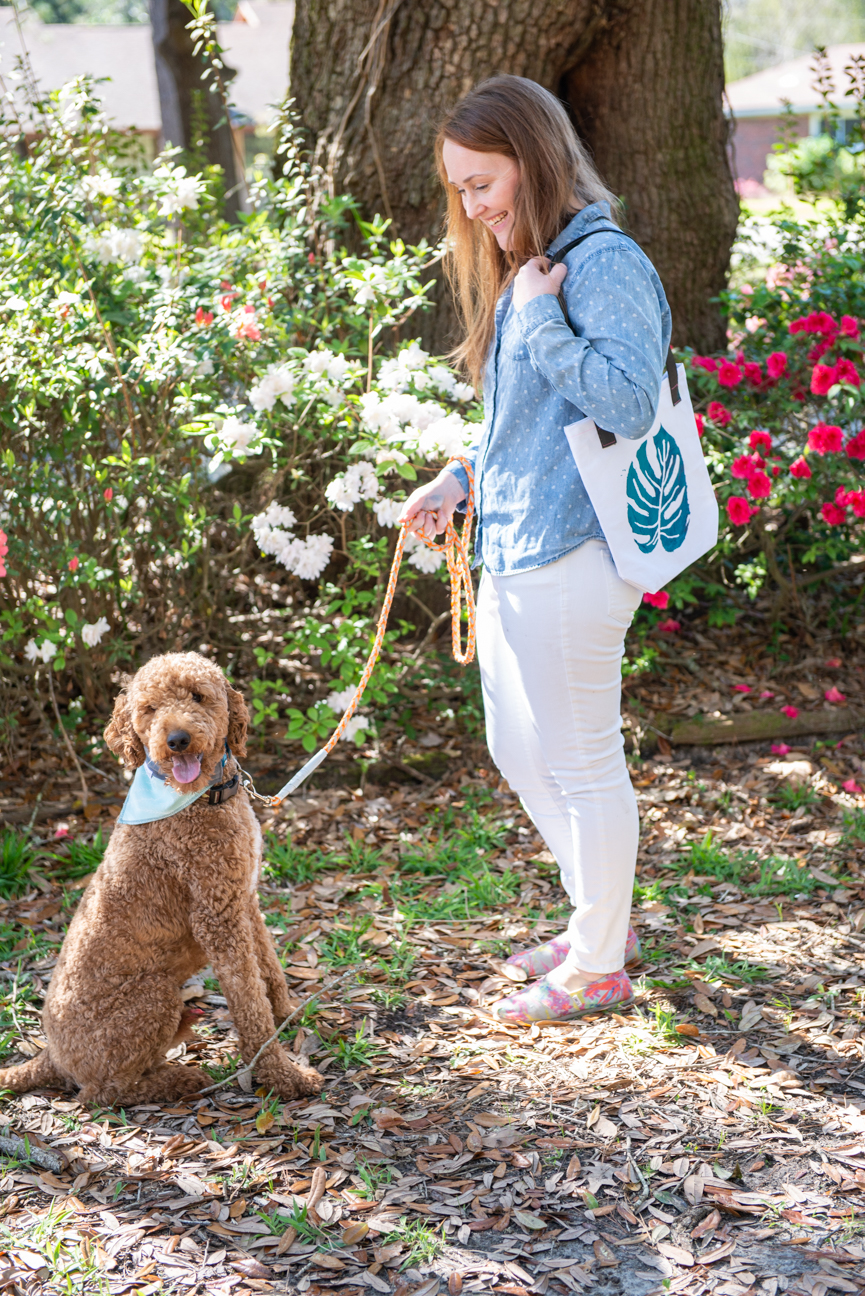
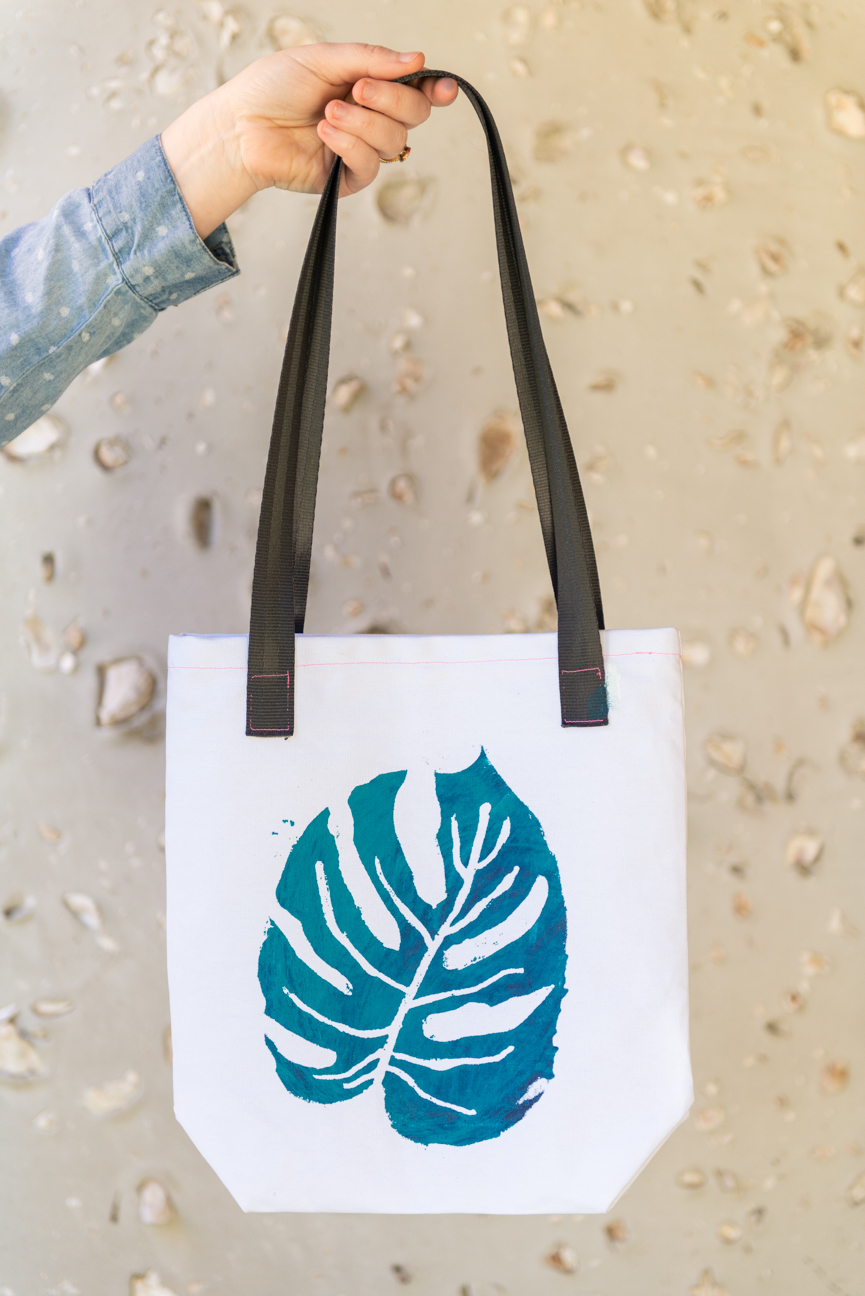
Go show off your awesome printing skills!

